
Looking to level out your uneven concrete floor? Aside from being inconvenient and looking a little bit strange, uneven flooring can also be dangerous - often causing people walking on them to fall, slip or trip on the unexpected bumps and dips in the surface. Whether it’s at home or in your workplace, it’s for this reason that levelling out your floor is really important.
Used both underneath decorative flooring or as a finished product, concrete slabs are often used for flooring due to the material’s incredibly versatile nature. However, when improperly cared for, concrete is also prone to cracking and shifting that can cause the surface to become uneven - oftentimes resulting in flooring that isn’t quite level.
As we are accredited concrete drilling and sawing specialists, we’ve decided to share our top tips for levelling out a concrete floor. Whilst these tips are intended as a handy guide to fix your uneven floor, if you’re unsure about doing the job yourself, we’d always recommend getting in touch with a professional to see how they can help. Alongside our diamond drilling and sawing expertise, we also offer a concrete grinding and sealing service that improves the longevity, durability and appearance of concrete floors - so don’t hesitate to get in touch with our friendly team if you have a project in mind.
First things first, how do you know if your floor isn’t level? Surprisingly, uneven flooring isn’t always glaringly obvious, but it can be a sign of structural issues, so it’s pretty important to fix. If you’re unsure if your floor is uneven or not, you can check by using a spirit level - ideal for if you think you may have a sloped floor. If you think your floor may have a number of raised areas or dips, you can also lay a carpenter’s level flat on the floor, and see if gaps appear under the centre of the level, or if the level moves.
Alternatively, you can also use a round object such as a marble to check by placing it in the centre of the floor and seeing if it rolls. This will also indicate how serious and in which direction the slope is.
Please note: if your floor is more than 5mm unlevel, we’d recommend speaking to professionals.
If you’re looking to level concrete that’s underneath decorative flooring elements such as tile or carpet, you’ll first need to remove this from the surface so that you’re left with just the concrete slab to work with.
For safety and ease, we’d recommend removing any furniture and clearing the room before starting to do any work to level your floor.
After moving the furniture, it’s also important to make sure that the floor is completely clean and clear of any dirt, dust, debris or mess with a vacuum cleaner or a brush.
In the long run, this will save time and also result in the primer or sealant going on more smoothly - achieving the desired professional, precise finish.
Once the room is clear, it’s then essential to identify and fill any cracks in your concrete. Regardless of whether these are large or small, it’s important to take the time to do this as unfortunately cracked concrete is more susceptible to water intrusion. This means that the cracks that were once small can grow larger with time, damaging the structural integrity of your concrete further.
To fill smaller or narrower cracks, a concrete filler with a caulking gun will be suitable - however, for larger cracks you’ll likely need a concrete patching compound to avoid further issues and ensure that your concrete slab remains strong.
Wondering how to stop your concrete from cracking? Fortunately, this is avoidable with expansion cutting. This is the act of cutting expansion joints into concrete, meaning that the slab then has room to expand and retract in changing weather conditions without cracking. With our state-of-the-art concrete cutting equipment, expansion cutting is something that our team of experts specialise in. Our saws feature diamond-tipped blades that can make large, precise cuts in tough masonry materials such as concrete with ease.
.webp)
Once you’ve filled the cracks and allowed the filler or concrete compound to dry, then you’ll need to mark any uneven areas of the floor with chalk. This can be easily washed away, but is extremely helpful when you begin to grind the floor.
Remember that the areas you have just filled may be slightly higher too - these may need grinding slightly to match the rest of the floor.
After marking the uneven areas, use a concrete grinding tool to buff away any raised areas. Concrete grinding tools use rotating discs to identify any uneven areas and smooth them down. For small jobs, a handheld or walk behind concrete grinder will be suitable, with handheld ones being specifically useful for smaller, more awkward spaces. Please note, it’s really important to wear respiratory protection whilst grinding, cutting, sawing or drilling into concrete as the dust particles produced can be harmful to the lungs.
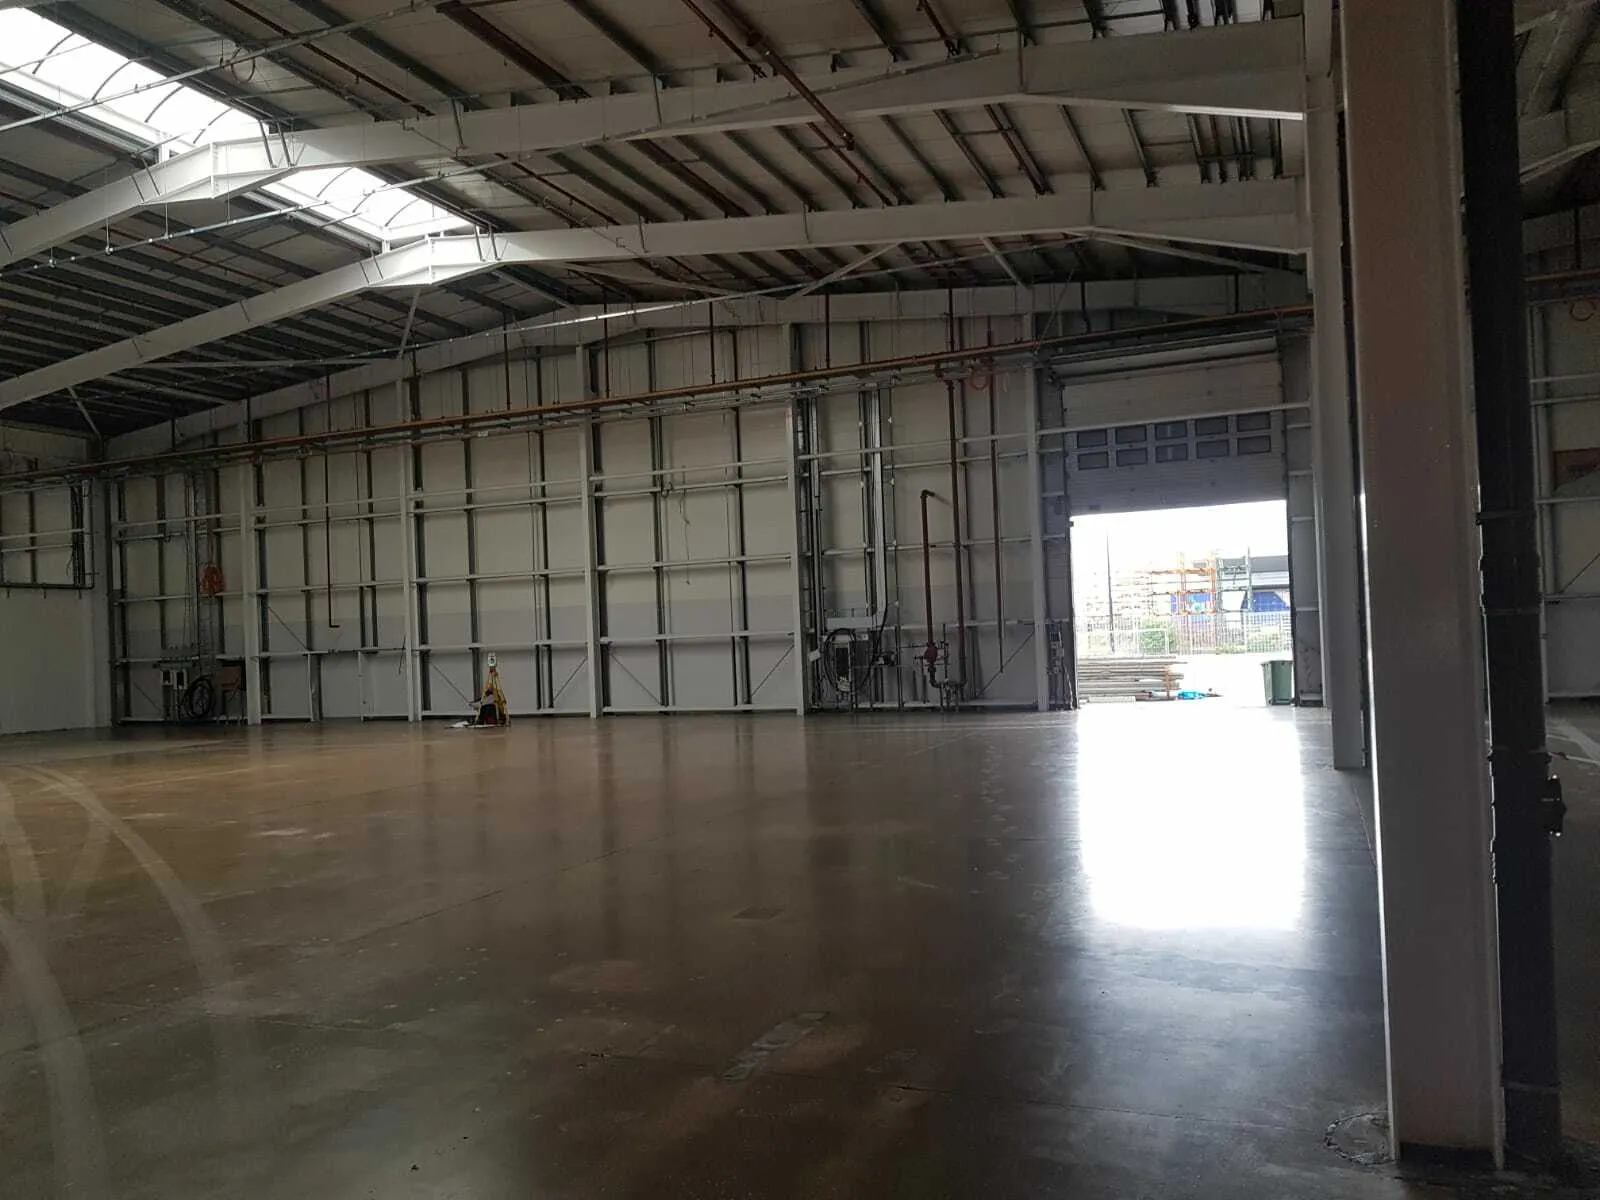
If you’re working on a larger space like a warehouse or megashed, you will likely need to speak to a diamond drilling and sawing contractor such as ourselves. We’re proud to offer our commercial concrete grind and seal service across the United Kingdom, so whether you’re based in Leeds or London, we’re happy to help.
Once you’ve ground down the high spots and your floor is looking nice and even, it’s important to clear the area of any dust using a vacuum cleaner to ensure the safety of yourself and others. This will also create a smoother surface for your concrete primer.
After clearing the floor of any dust, apply a concrete leveller primer. This improves adhesion for the levelling cement, can help to seal the concrete and will prevent any paint you may want to apply from crumbling and cracking.
And now… We wait. Whilst some primers may claim to take a couple of hours to dry, we’d always recommend leaving it at least eight hours to fully dry and ensure you get the best quality results.
When the primer is fully dry, mix your concrete leveller according to the instructions on the packet. Then, pour this over the floor, level it with a steel trowel and use a spiked roller if required to ensure that this is spread evenly and into all corners.
Once you’ve spread your levelling compound, we’d strongly recommend leaving this to dry for around 24 hours. This will ensure that no cracks, damage or indentations occur as the concrete solidifies.
Where possible, try to avoid any direct sunlight hitting the concrete, as this can cause water to evaporate from the mix at speed, meaning that it doesn’t have the time to strengthen as it normally would.
Once this has dried properly, you’re good to go! Whether you’re laying new flooring, painting the concrete or sealing it, your floor should now be nice and level for the next step of your DIY journey.
We offer our commercial concrete grinding and sealing service across the country, ideal for improving the appearance, strength and durability of concrete floors in megasheds, warehouses and more. Get in touch with us today to arrange your site visit and quote.