
Need to add a new fixture to your kitchen or bathroom, but worried about drilling through your tiled walls? Drilling through tile can feel like an intimidating task, especially if you've never done it before. We all know that one wrong move can result in cracked or chipped tiles, ruining all your hard work. But, fear not, we are here with our top ten tips that will make drilling perfect holes in your tiles an absolute breeze.
From choosing the best drill bit for the job, to which speed you should be drilling at, we’ve got you covered. So, you’ll soon be fitting your new fixture with ease!
First and foremost, it's important to choose the right drill bit. With so many options available on the market, it can be difficult to know which one is the best to use.
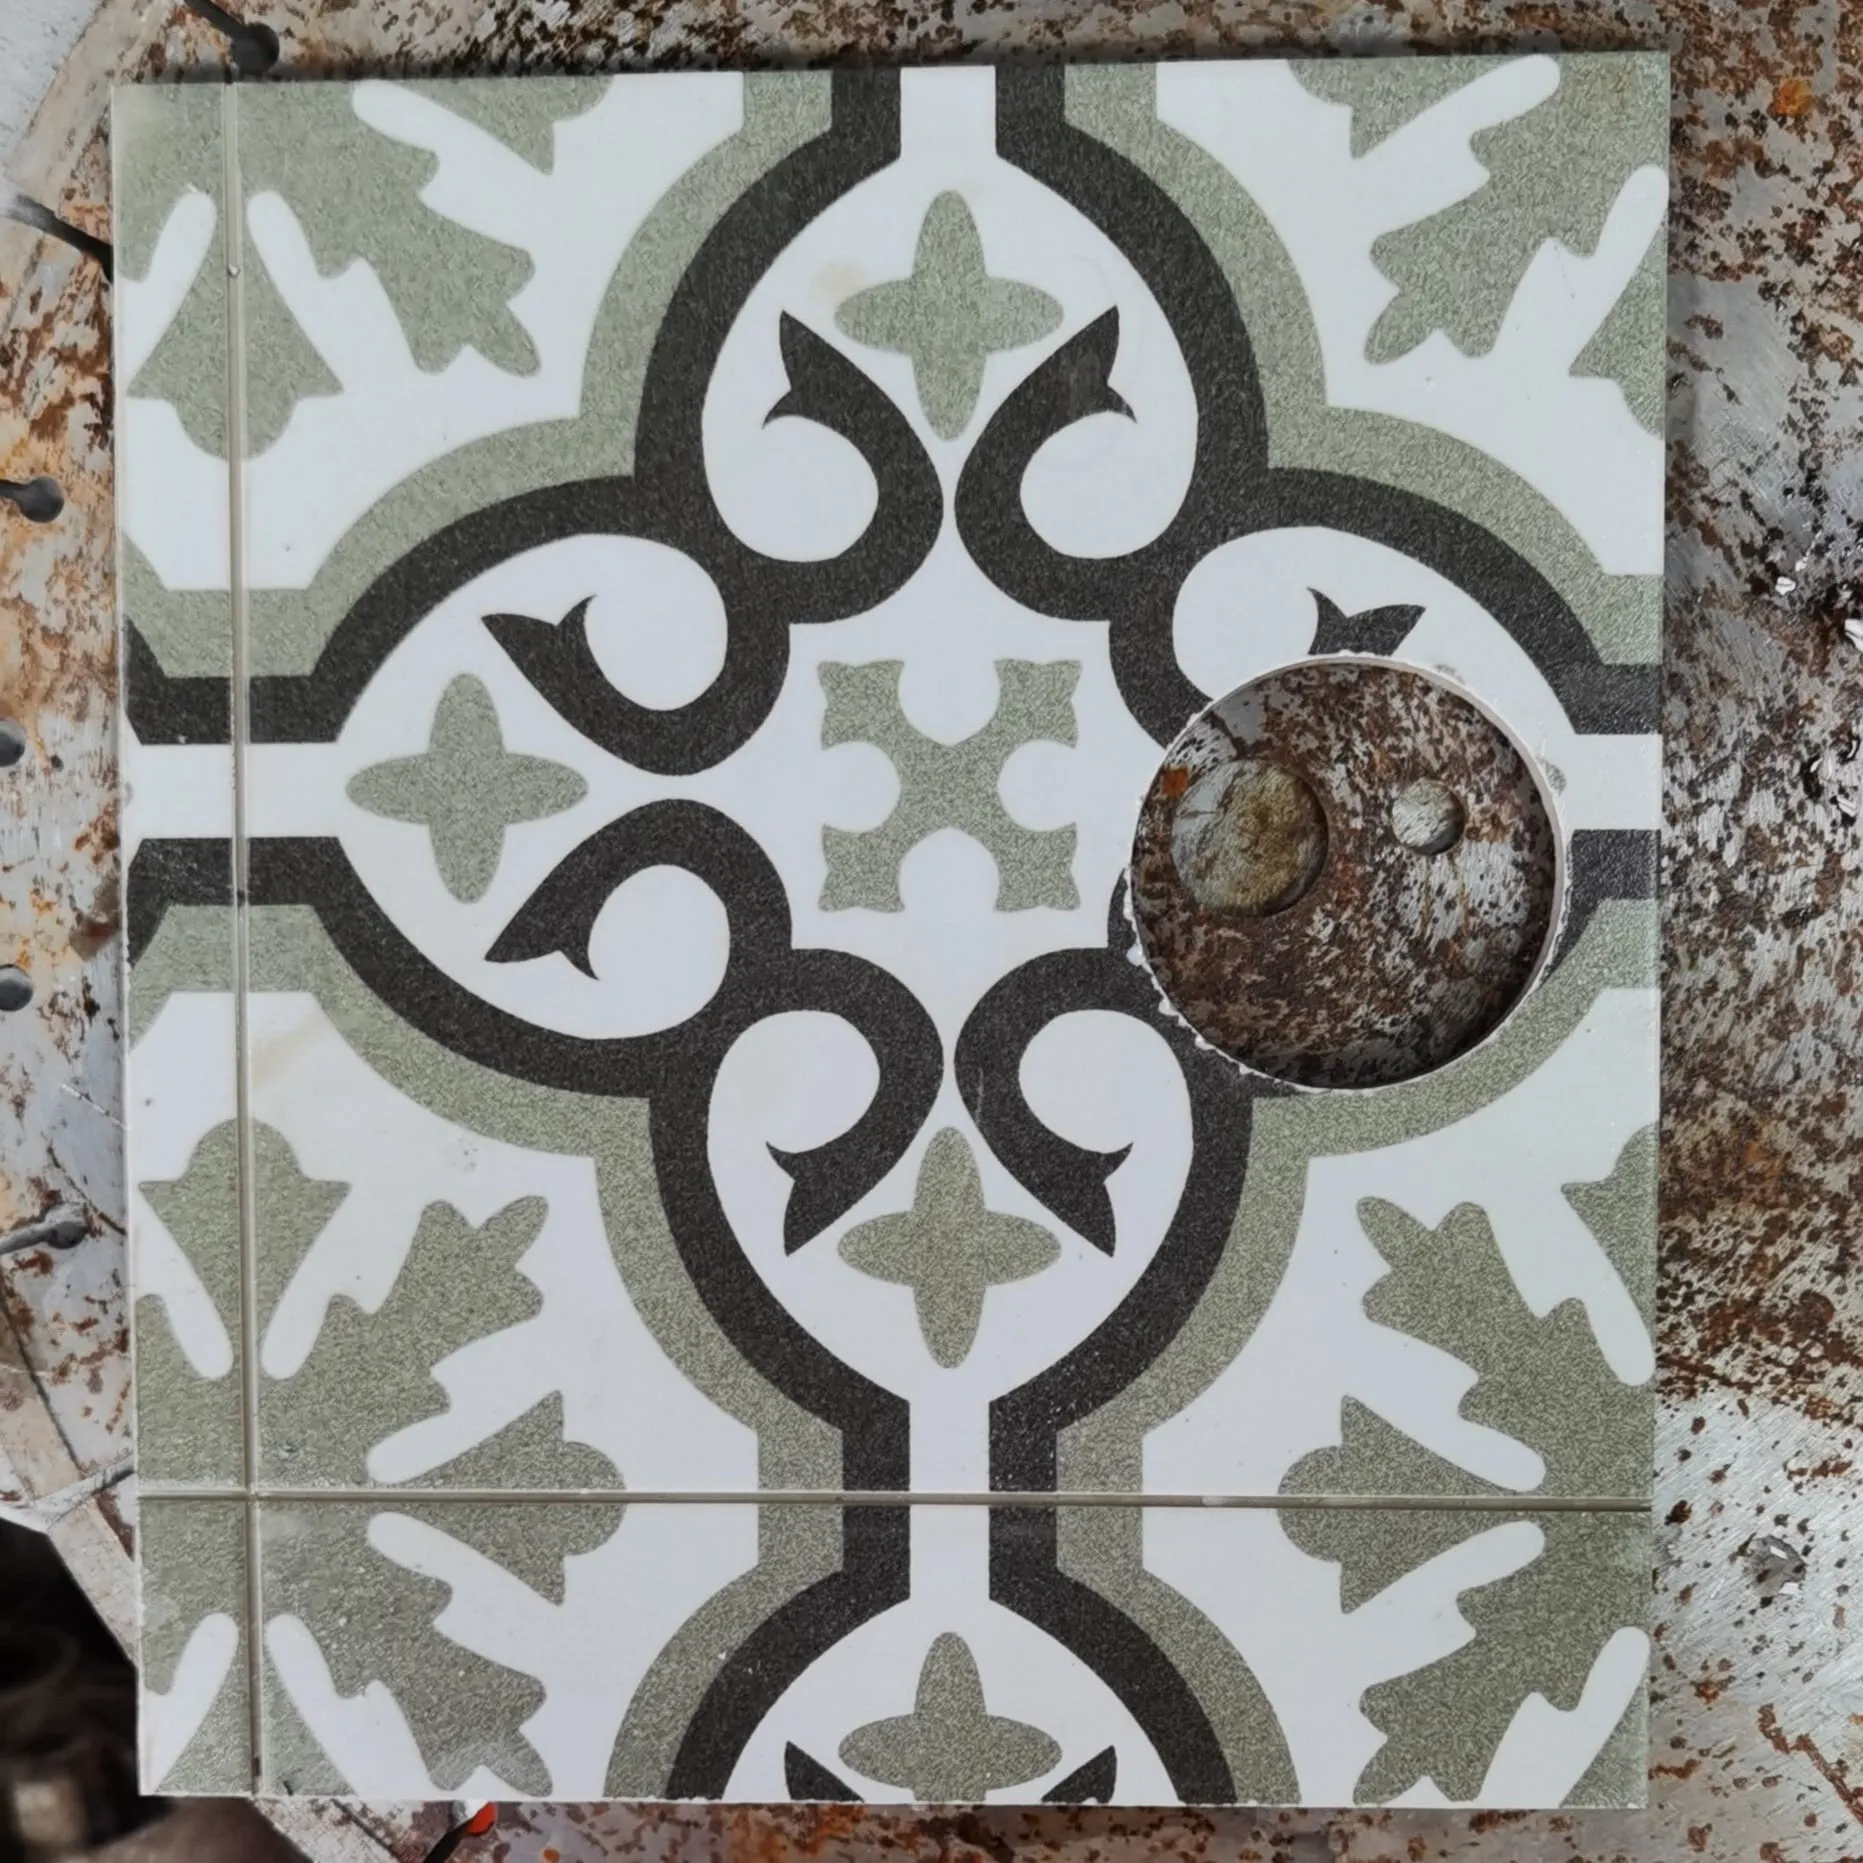
For tile drilling, use a carbide-tipped or diamond-tipped drill bit specifically designed for drilling through tiles. These bits are harder and more effective at cutting through ceramic or porcelain tiles, so they’re your best bet if you want to avoid damaging your tiles. Their sharpness and durability will ensure a clean and precise hole every time. Make sure to use a slow speed and apply gentle pressure when drilling and let the drill bit do the hard work for you.
First, mark the spot where you want to drill with a pencil or a piece of tape. This will help guide your drill bit and prevent any unnecessary errors. It's also a good idea to place a small piece of masking tape over the area you plan to drill. The tape will help prevent any potential cracking or chipping.
If possible, secure the tile in place using a clamp or other means. This minimises vibrations and reduces the risk of the tile cracking during the drilling process.
To start the drilling process begin by creating a small pilot hole in the tile using a drill bit that is smaller than the final hole size. This helps guide the larger drill bit and reduces the risk of cracking the tile.
Drill at a slow speed to prevent overheating and reduce the risk of cracking the tile. Apply steady and even pressure, and avoid being heavy-handed with the delicate tile.
Remember: take your time and be patient. Rushing through the process can lead to costly mistakes and even damage to the tile itself. By taking your time and proceeding at a steady pace, you can ensure a clean and precise hole without any cracks or chips. Going slowly also allows you to have better control over the drill, reducing the risk of slips or accidents.

Use a continuous flow of water to cool down the drill bit and reduce friction. You can either have a helper spray water onto the tile while you drill or use a spray bottle. This will keep the drill bit cool and prevent any heat damage to the tile.
Additionally, using water will help flush away any debris and keep your work area nice and clean, so it will be easier to see your progress.
For multiple holes in a straight line, consider creating a masonry template. A masonry template is a handy tool that can make your tile drilling tasks much easier and precise. It is designed to provide a guide for drilling holes in tiles without causing any damage or cracks. This template is usually made of durable and lightweight materials such as plastic or metal, ensuring its longevity and ease of use.
Not only do masonry templates make drilling through tiles easier, but they also ensure that all the holes are evenly spaced and aligned perfectly by allowing you to mark the exact spots you’d like to drill into - eliminating any guesswork and ensuring that the holes are drilled in the right places.
If possible, use a corded drill instead of a cordless one. Corded drills provide a consistent power source, ensuring a steady drilling speed throughout the process. This can help keep cracks and other damage at bay, keeping your new tiles nice and intact.
When it comes to drilling through a wall with tiles, the key to success lies in ensuring that the wall or backing is sturdy. This is crucial because weak or unstable backing can significantly increase the risk of tile breakage. So, before you start drilling, take the time to inspect the wall and make sure it is solid and secure. If you notice any signs of weakness or instability, such as loose tiles or cracks in the grout, it's essential to address these issues before proceeding with the drilling.
One way to strengthen the wall or backing is by using an appropriate anchoring system. By choosing the right type and size of anchors, you can ensure that the tiles remain intact during the drilling process. Additionally, you can also consider reinforcing the wall by applying a layer of adhesive or using a backing board behind the tiles.
Practice makes perfect! If you're new to drilling tiles, and you’ve got some to spare, practice on a scrap piece first to get a feel for the process and to adjust your technique before drilling into your actual wall.
Remember, patience, precision and care are key when drilling through tile. So, if you’re considering drilling holes in your tiles, follow these ten tips to make the project run smoothly! Or, if you’re feeling unsure, why not get in touch with our team? We offer our domestic services across the North West, East Midlands and North Wales, so we can use our specialist diamond drilling technique to help you achieve the perfect finish on your project.
